PHOTOBOOKS PART 4: LOOK AND FEEL
How to showcase your photos with tips and ideas on layouts, backgrounds and finishing effects.
All Photo Credits: (c) T J Allen Art
Layouts
You can choose how many pictures and what layout they are presented in for every single page in the book.
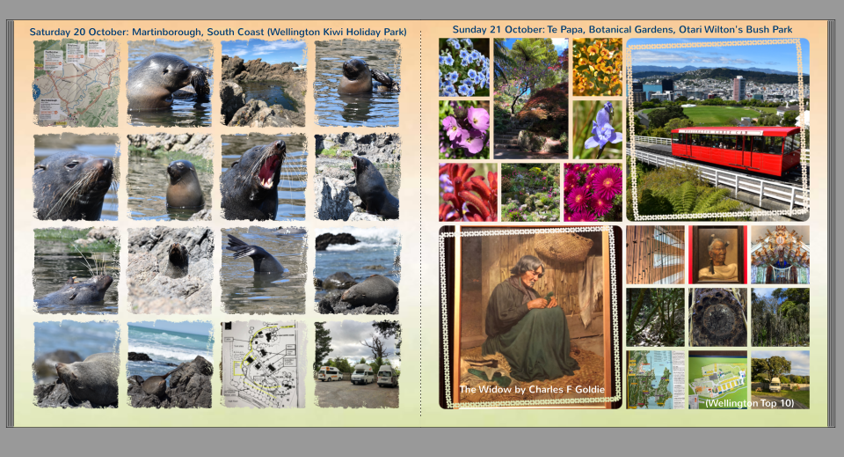
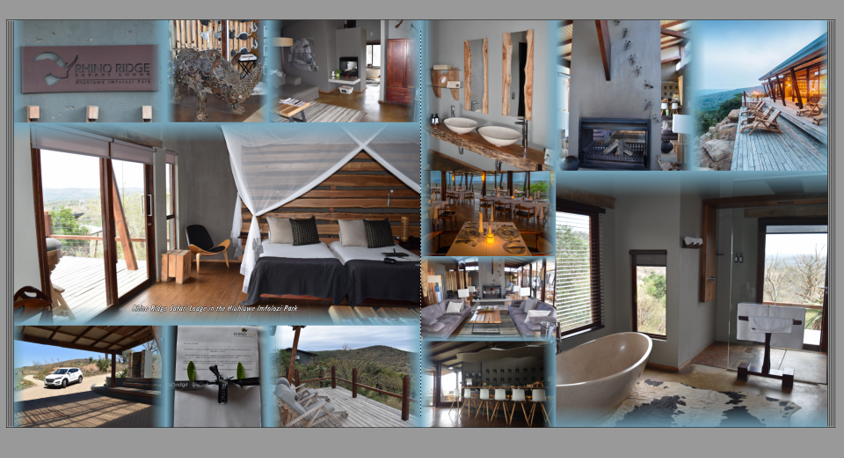
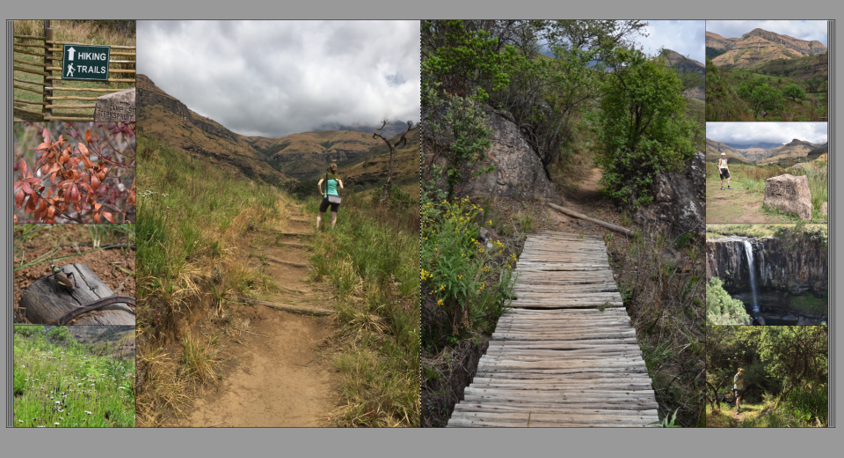
To allow the photobook to flow well, it is best to keep the same subject matter/location/event etc. across each double page spread rather than having the left page with entirely different photos and context from the right page. It often works well to do mirrored layouts so that the left page is a reflection of the right page. *see examples below*
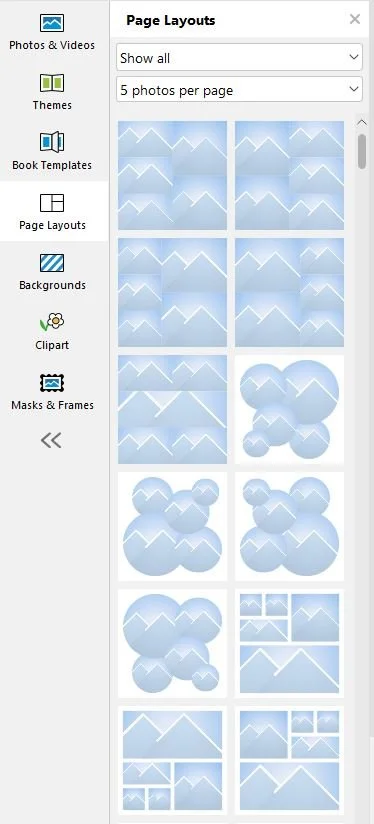
Once you've chosen how many pictures to display on the page (work this out by counting how many photos you have in your sub-folder), you will be offered a choice of layouts based on that number. So, if you've chosen 5 photos per page, you will see a whole range of options with 5 photos in different sizes, shapes, angles or various overlapping formations etc.
Your choice will be determined by the photos you have to play with, so, you might have one that is a real show-stopper that needs to be much bigger and prominent on the page than the rest.
Personally, I never choose angled photos but that's because I prefer a straight-forward style.
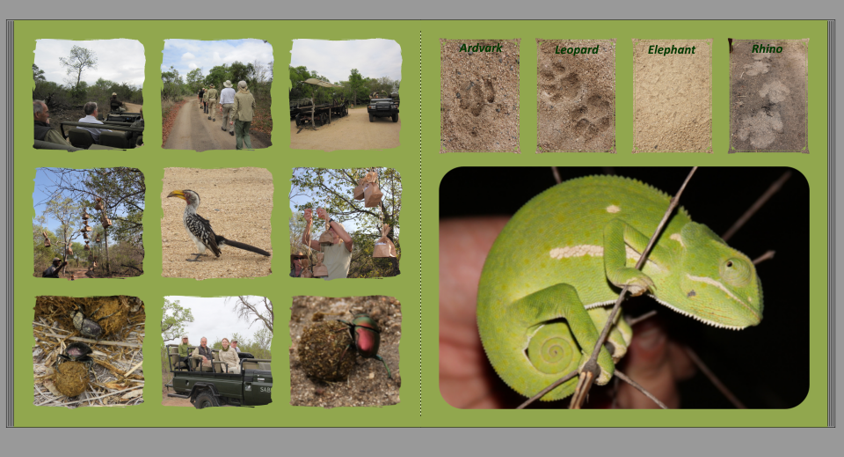
Backgrounds
If you've chosen a layout that has borders around each image, you have the ability to add a background so that the page is not left white.
Standard Backgrounds
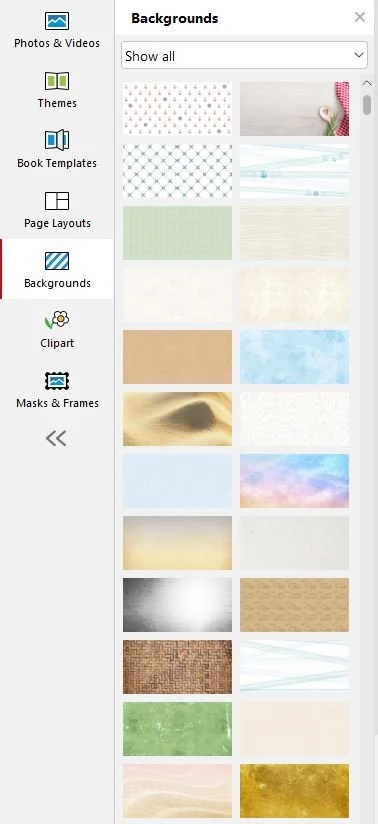
There is a whole range of standard backgrounds to choose from which include everything from plain colours to patterns to textures. There are also standard themed background related to things like holidays, birthdays, school etc.
The top tip here is to choose something that is complimentary in terms of colour and style but also blends in rather than taking too much attention away from your photographs. If you have a lot of photos on top of a busy background, it can be visually overwhelming and take away any power or impact from the individual pictures. Often, simplicity is the way forward so don't be afraid to rein it back.
Personalised Backgrounds
I love including my own personalised backgrounds because it is not only creatively unique but also brings in a sense of place and naturally ties in with the rest of the photos. I often take close-up images of the floor (patterned tiles, slate, sand etc), walls (brickwork, stone, textured blocks) or natural elements (tree bark, blossom, grass).
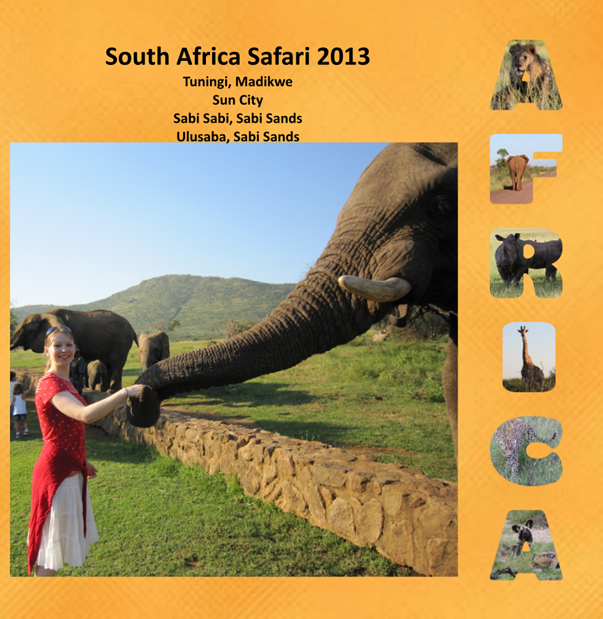
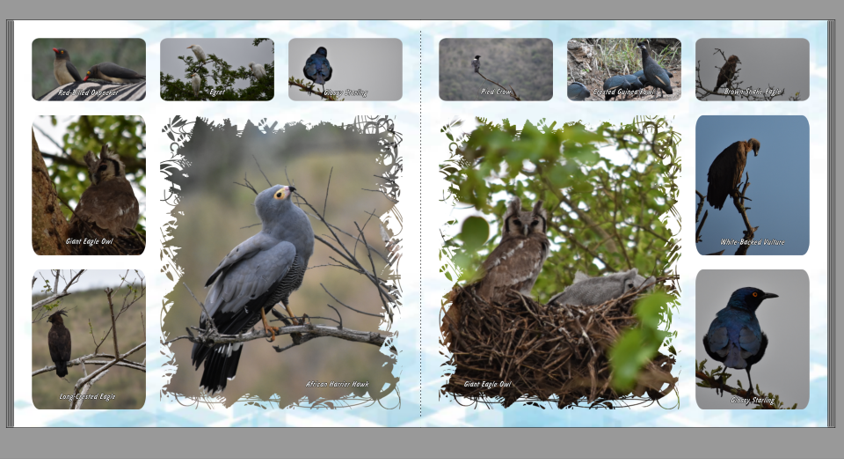
In the examples below, I've used close-ups of patterned giraffe fur and wine corks to compliment safari photos and wine tasting photos accordingly.
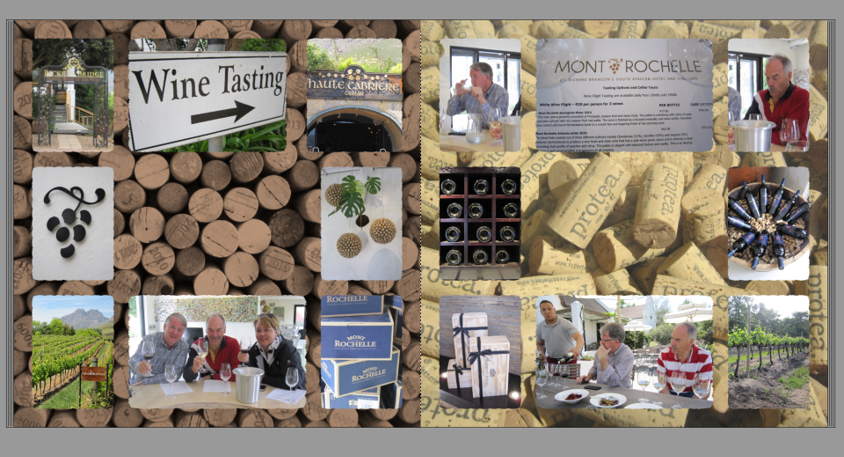
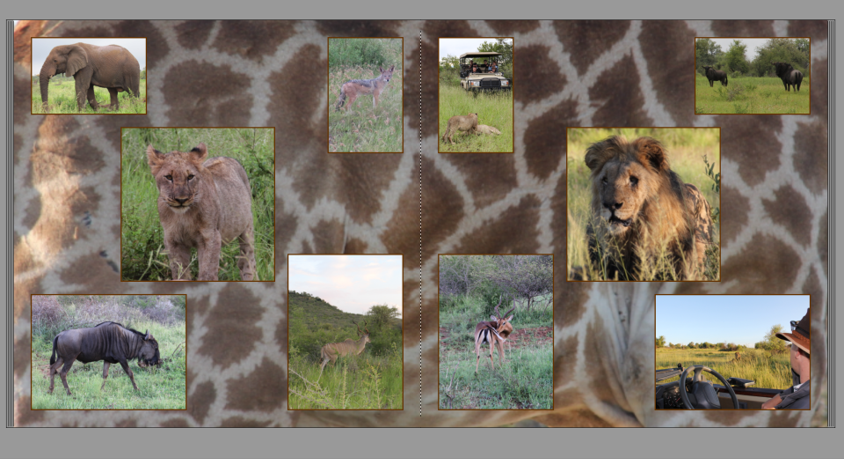
Finishing Effects
Your photobook will be a bit boring if every photo is displayed in exactly the same way so there are various ways of adding artistic flair!
Masks and Frames
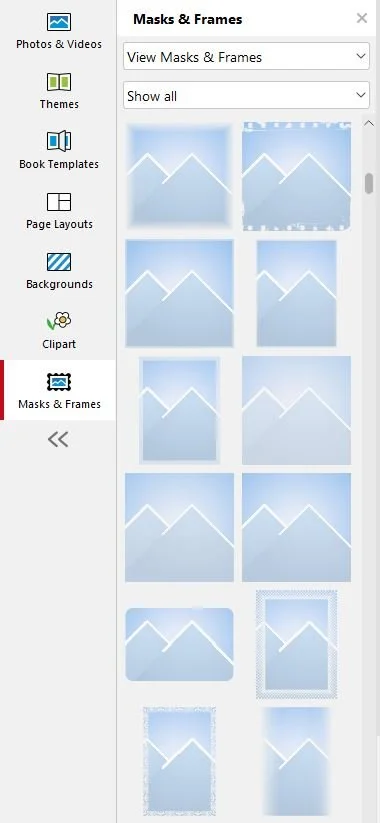
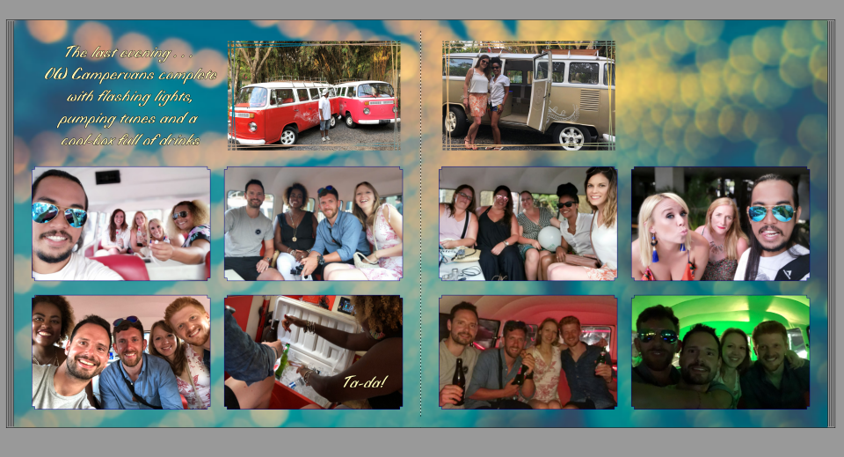
These are used to alter the edges of each image. Frames are fairly self-explanatory; they provide a style of lined edge to the picture. Masks are how the image edge is finished without a drawn line, so for example, there are various ways in which the edge can fade out into the background so it will seamlessly disappear with a soft gradient. Other mask options include different patterns and shapes. The examples below show some mask letters and mask country shapes.
There are so many options to choose from so let loose and have a bit of fun. If something doesn't look right, keep playing and trying out alternatives until you hit on something that you like.
I would advise to only use one or two different masks/frames on each double page spread because you want a sense of cohesion. If every picture has a different mask/frame it can become very disjointed and will look messy.
Use of Annotation
Most of the time, the saying 'a picture paints a thousands words' is true and the images should speak for themselves, but occasionally, I do add some wording if I need to remember something in particular. This is usually in the form of place names or animal species names where I might need a prompt in the future!
IMPORTANT NOTE: Please, please, please double and triple-check any written text as there is nothing worse than noticing a typo or mistake when you've got the printed (and paid for!) photobook in your hands!
